TikTok Ads — Setup Guide
For: Anyone who needs to set up TikTok Ads from scratch. Assumes: Zero marketing/technical background. Time: ~20 min setup + 1–3 days for business verification (if required).
What You'll Set Up
| # | What | Why |
|---|---|---|
| 1 | TikTok Account | Required to access any TikTok business tool |
| 2 | TikTok Business Center | Your company's central hub for managing ad accounts and assets |
| 3 | Ad Account + Billing | Where your campaigns, budgets, and payments live |
| 4 | Business Verification | Required in some regions before running ads |
| 5 | TikTok Pixel | Track website visitor actions for ad optimization |
Step 1: Create a TikTok Account
Skip if you already have a TikTok account.
- Go to https://www.tiktok.com (or download the TikTok app)
- Sign up with:
- Email or phone number
- Or use an existing Google / Facebook / Apple account
- Verify your email/phone
Step 2: Create a TikTok Business Center Account
What is this? Your company's central dashboard on TikTok. It holds all your ad accounts, pixels, audiences, creatives, and team members. Similar to Meta's Business Portfolio or Google's MCC.
-
Click Create an account (or "Get Started")
-
Sign up with your email or existing TikTok account
-
Fill in:
- Business name: Your company's legal name
- Industry: Select the closest match
- Country/Region: Where your business is based
⚠️ Country/Region CANNOT be changed after creation. It determines your currency, available ad placements, and regulatory requirements. Choose carefully.
- Time zone: Your local time zone
- Phone number: Business contact number
- Business address: Your company's registered address
-
Accept the Terms of Service
-
Check your email → click the confirmation link
Step 3: Create an Advertiser Account
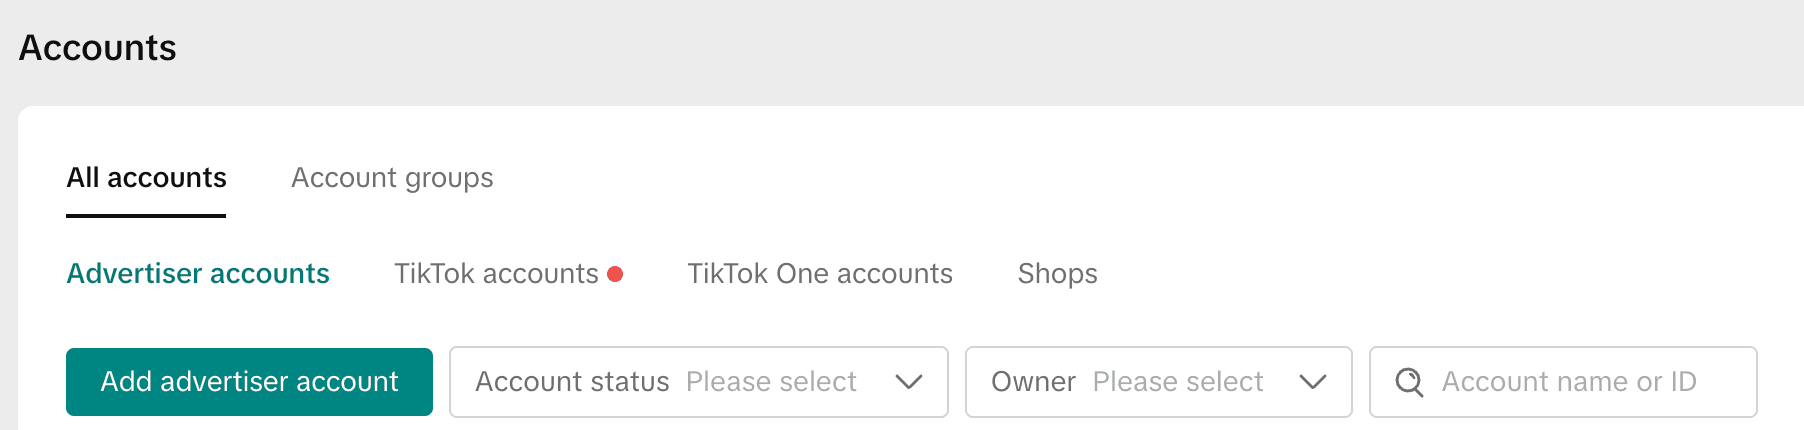
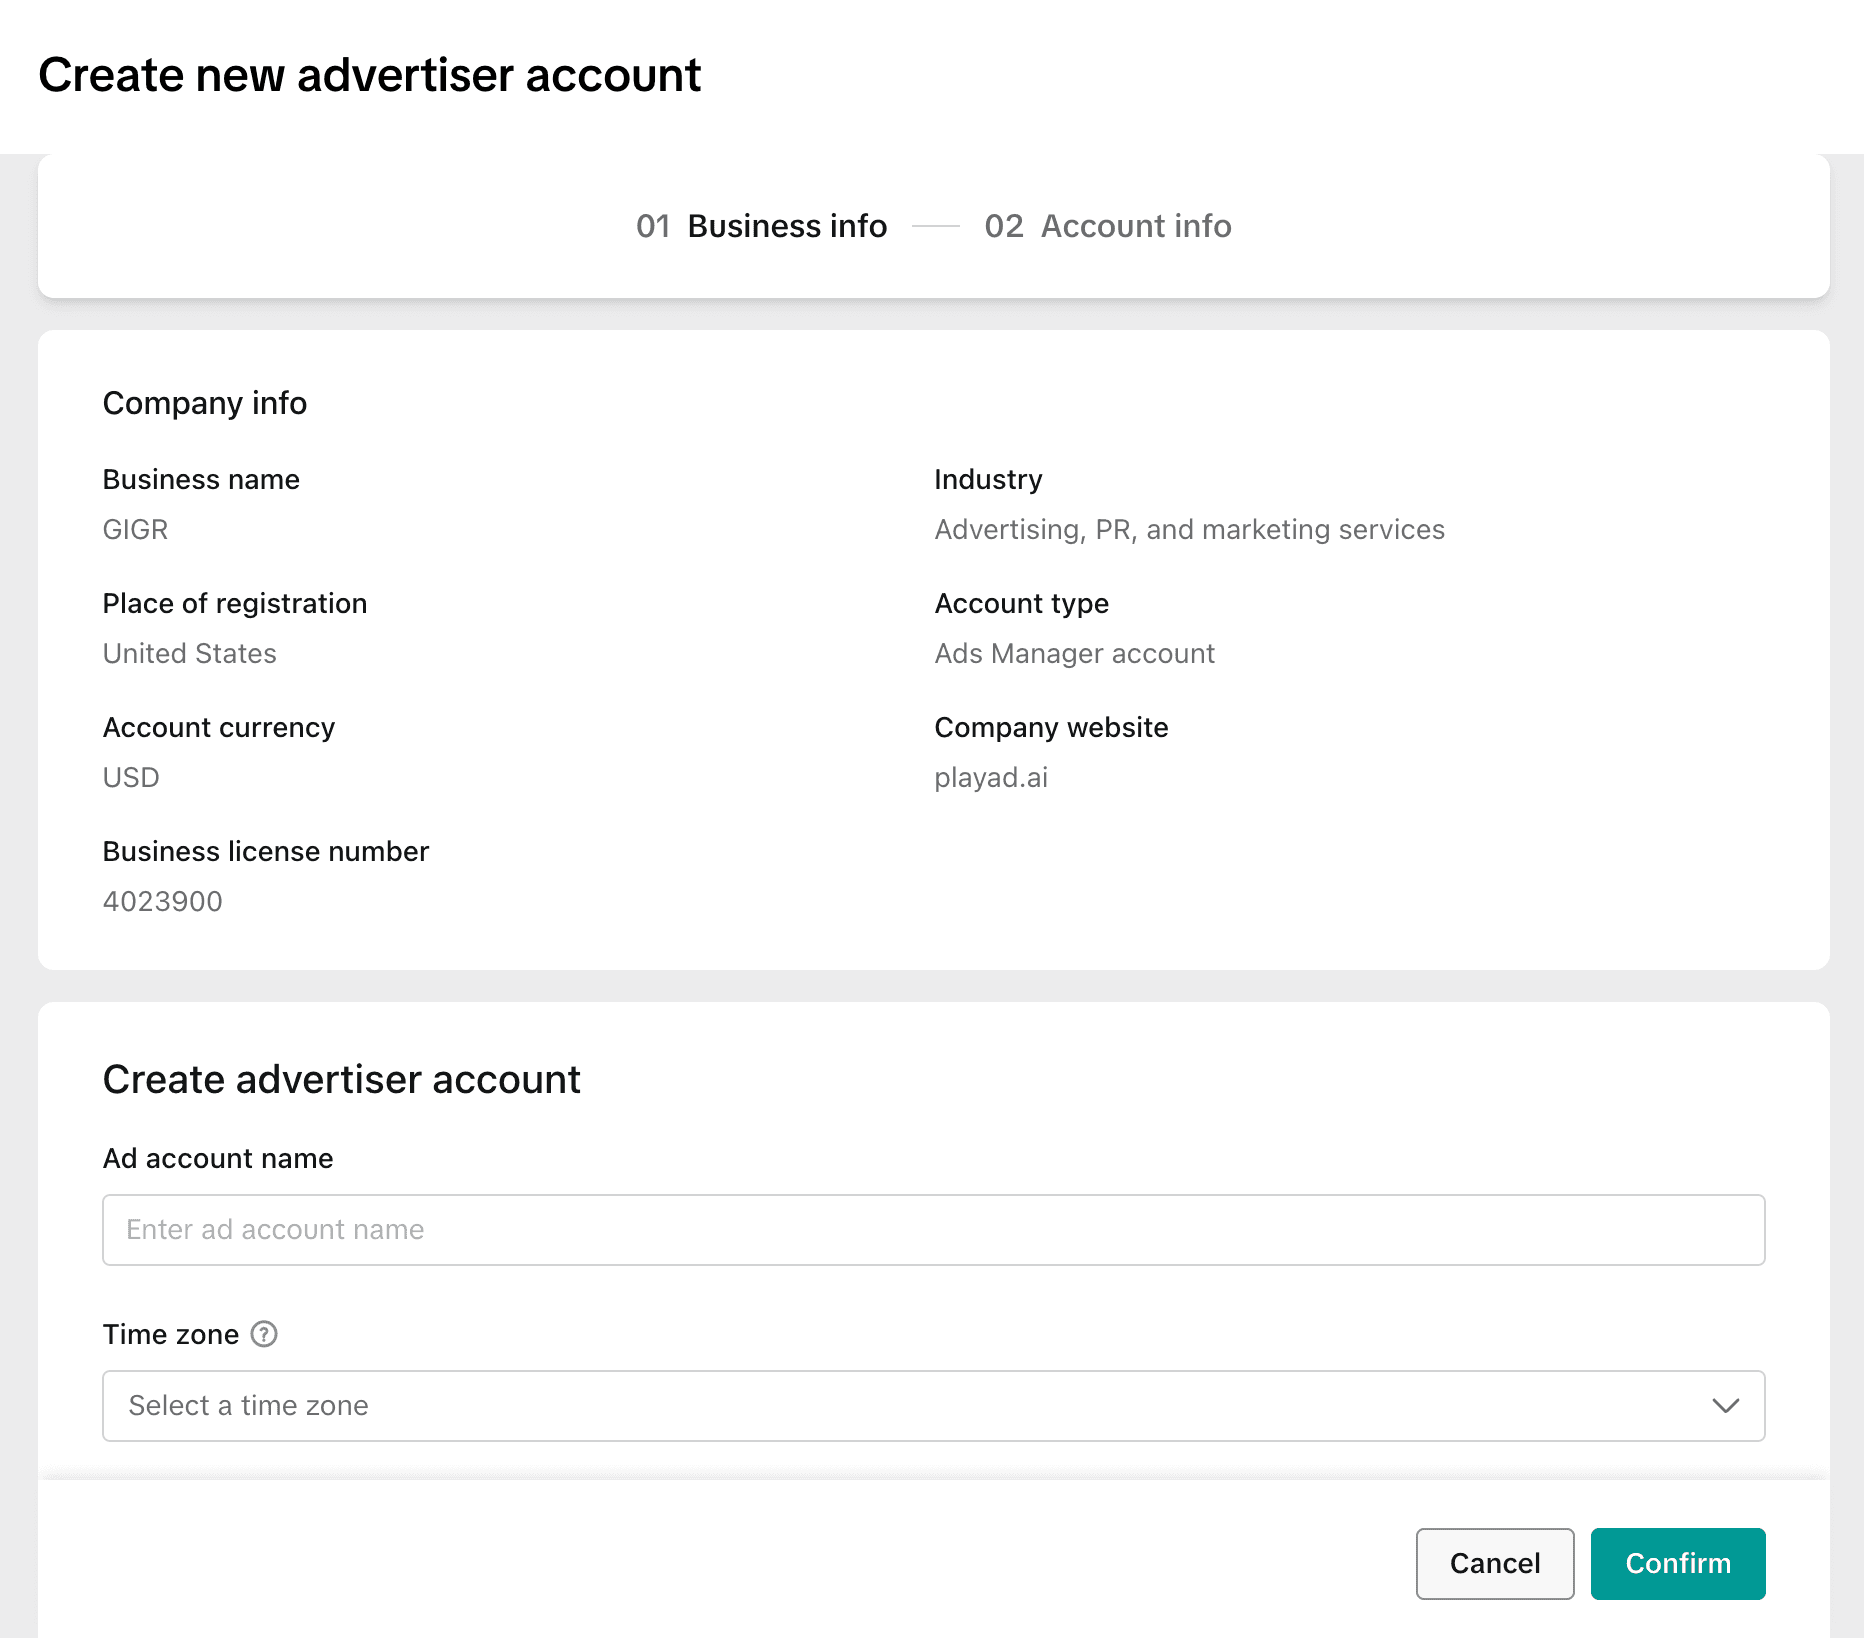
- In Business Center → Accounts → Advertiser accounts
- Click Add advertiser account
- Your Company info (business name, industry, place of registration, currency, website) is pre-filled from Business Center settings
- Fill in the Create advertiser account section:
- Ad account name: Descriptive name (e.g., "Acme TikTok Ads")
- Time zone: Select your local time zone
- Click Confirm
Add a Payment Method
- In the ad account → Payment (or Business Center → Billing)
- Click Add Payment Method
- Choose one:
- Credit card / Debit card
- PayPal
- Invoice (for larger accounts, varies by region)
- Enter payment details → Confirm
Without a payment method, you cannot run ads. But you can still set up tracking and connect the account for data syncing.
Step 4: Business Verification (If Required)
What is this? TikTok verifies your business is a real, legitimate entity. Not all regions require this — TikTok will prompt you if verification is needed.
How to check if you need it:
- If you see a "Verify your business" banner when trying to create campaigns, you need it
- Some regions (e.g., certain EU countries) always require it
- Others (e.g., US) may not require it for small accounts
How to Verify
- In Business Center → Verification (left sidebar, under Settings)
- Follow the verification prompt and upload:
- Business license or business registration certificate
- Authorized representative info: name, role, government-issued ID
- Submit for review
- Wait 1–3 business days
- You'll receive an email when approved — your Business Center will show a Verified badge
Tips
- Make sure the business name on your documents matches what you entered in Business Center
- Documents must be clear and legible (no blurry photos)
- If rejected, you can resubmit with corrected documents
Step 5: Set Up TikTok Pixel
What is this? The TikTok Pixel is a piece of JavaScript code on your website that tracks visitor actions (page views, purchases, sign-ups, etc.). It helps TikTok optimize your ad delivery and measure conversions.

Create a Pixel
- In Business Center → Assets (left sidebar) → Pixels tab
- Click Add a pixel
- Enter a name for your pixel (use your website or domain name, e.g., "acme-website")
- Click Create
- Link the pixel to your advertiser account
Install on Your Website
Choose an installation method:
| Method | Best For |
|---|---|
| Manually Install Pixel Code | Custom websites — paste the base code in your <head> tag |
| Partner Integration | Shopify, WordPress, WooCommerce — easiest, no code needed |
| Google Tag Manager | Sites already using GTM for tag management |
For manual installation, copy the provided base code snippet and paste it in the <head> section of every page on your website.
Set Up Events
- In Business Center → Assets → Pixels → click Open in Events Manager next to your Pixel → click your Pixel
- Click Add Events
- Use the Event Builder to set up events without coding — it suggests events based on buttons and elements on your website
- Add relevant parameters (e.g.,
valueandcurrencyfor purchase events)
Common events to track:
| Event | When to Use |
|---|---|
| PageView | Automatically tracked on every page load |
| CompletePayment | Purchase or checkout completion |
| SubmitForm | Form submissions, sign-ups |
| AddToCart | Product added to shopping cart |
| ViewContent | Product or content page views |
Tip: Advertisers who configure 4+ key events achieve up to 29% higher ROAS.
Test Your Setup
- Install the TikTok Pixel Helper Chrome extension
- Visit your website — the extension shows detected Pixels, firing events, and errors
- In Events Manager → select your Pixel → Test Events
- Enter your website URL, open it, and perform actions — events should appear in real time
- Confirm events show Active status
Summary
Must-Have (Required to Run Ads)
- TikTok account
- TikTok Business Center created at business.tiktok.com
- Ad Account created with promotion region and currency set
- Payment method added
- Business verification completed (if required by your region)
Recommended for Ad Performance
- TikTok Pixel installed on your website
- At least 1 conversion event set up (e.g., CompletePayment)
- Advanced Matching enabled (email/phone)
Key URLs
| What | URL |
|---|---|
| TikTok | https://www.tiktok.com |
| Business Center | https://business.tiktok.com |
| Ads Manager | https://ads.tiktok.com |
| TikTok Business Help | https://ads.tiktok.com/help |