Google Ads — Setup Guide
For: Anyone who needs to set up Google Ads from scratch. Assumes: Zero marketing/technical background. Time: ~15–20 min setup.
What You'll Set Up
| # | What | Why |
|---|---|---|
| 1 | Google Account | Required to access Google Ads |
| 2 | Google Ads Account | Where your campaigns, budgets, and billing live |
| 3 | Billing / Payment | Required to run ads |
| 4 | Conversion Tracking | Measure ad performance with GTM or gtag.js |
Step 1: Create a Google Account
Skip if you already have a Gmail or Google Workspace account.
- Go to https://accounts.google.com/signup
- Fill in: name, email (or create a new Gmail), password
- Verify your phone number
- Accept terms
Step 2: Create a Google Ads Account
Option A: Standard Account (for one business)
-
Go to https://ads.google.com
-
Click Start now
-
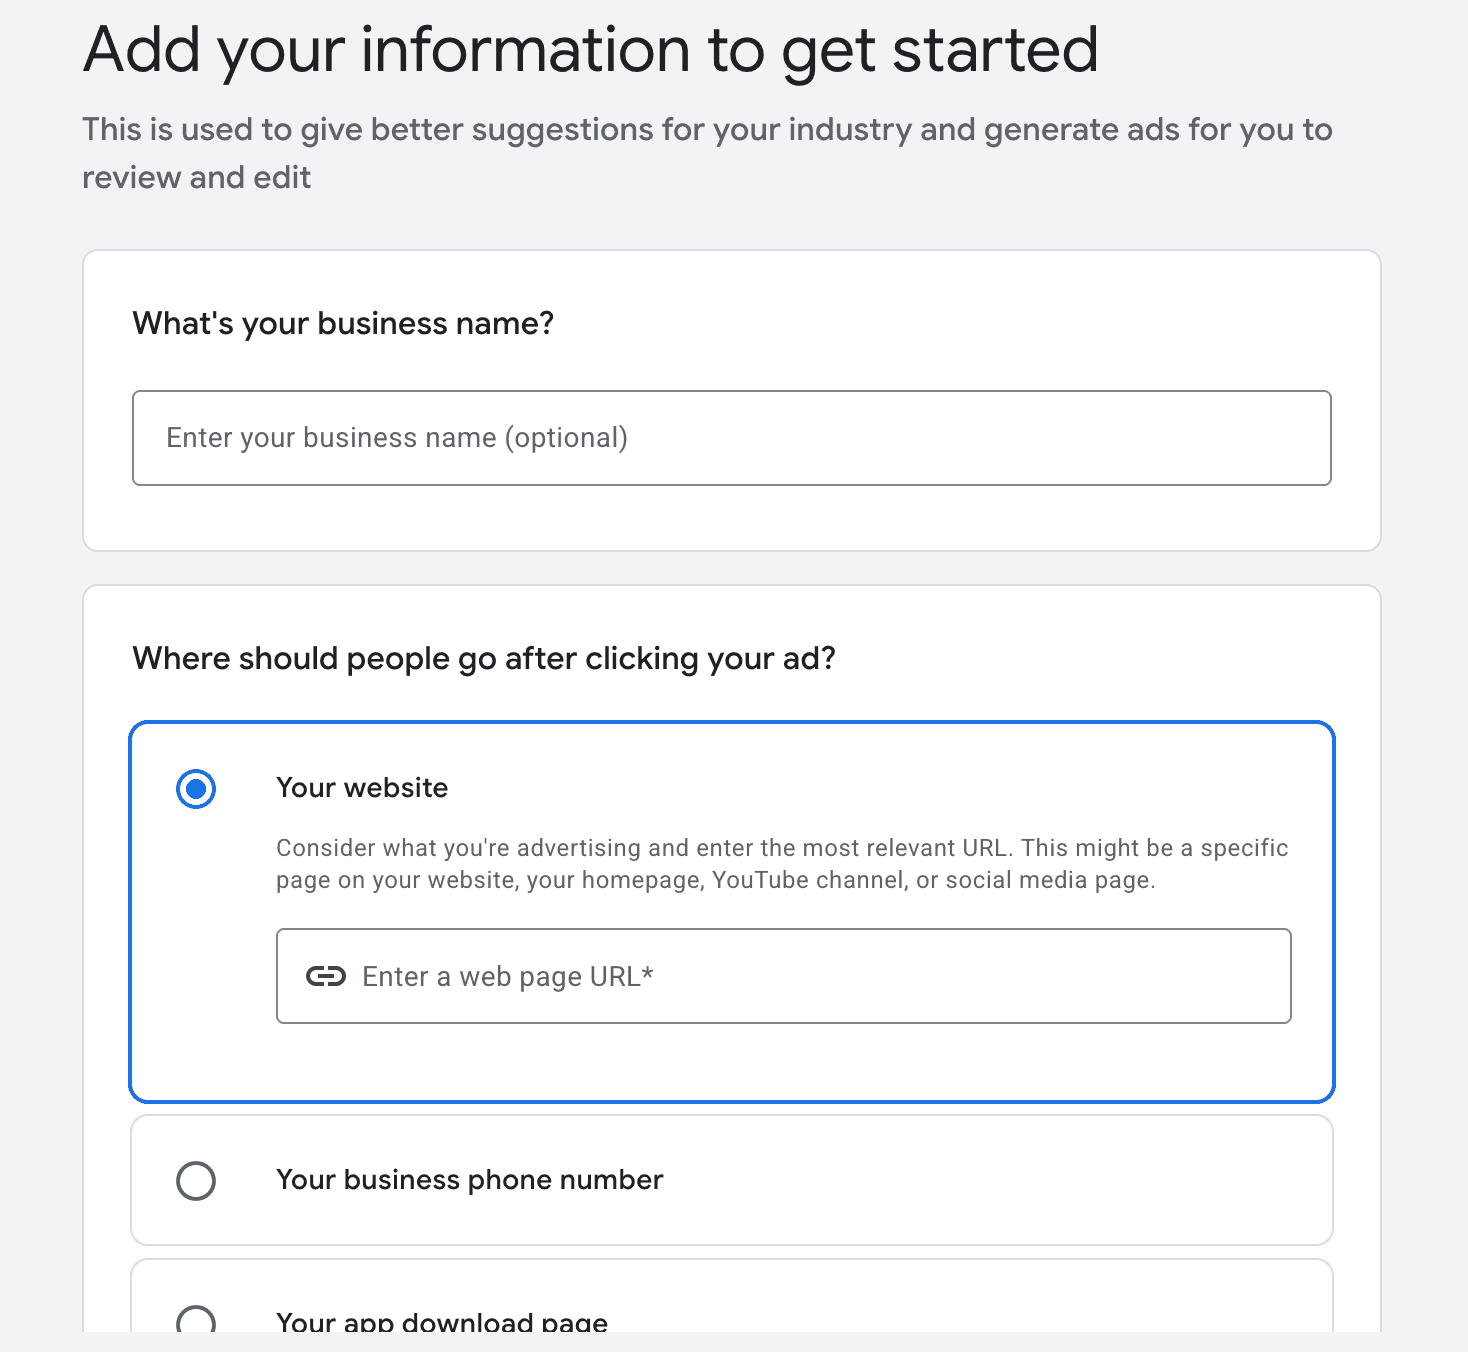
Enter your business name and website URL when prompted
-
Google will try to walk you through creating a campaign — skip all other steps
-
Confirm your settings:
- Billing country: Where your business is based
- Time zone: Your local time zone
- Currency: Your preferred currency
⚠️ Billing country, time zone, and currency CANNOT be changed later. Choose carefully.
-
Click Submit
Your account is created. You'll see your Customer ID — a 10-digit number in format XXX-XXX-XXXX — in the top right corner. Save this number.
Option B: Manager Account / MCC (for managing multiple accounts)
What is this? A Manager Account (also called MCC = My Client Center) is a "master" account that manages multiple Google Ads accounts. Use this if:
- You're an agency managing clients' ads
- You have multiple brands with separate ad accounts
- You want centralized reporting across accounts
-
Go to https://ads.google.com → Click Start now
-
At the bottom, click Are you a professional marketer? Switch to a manager account
-
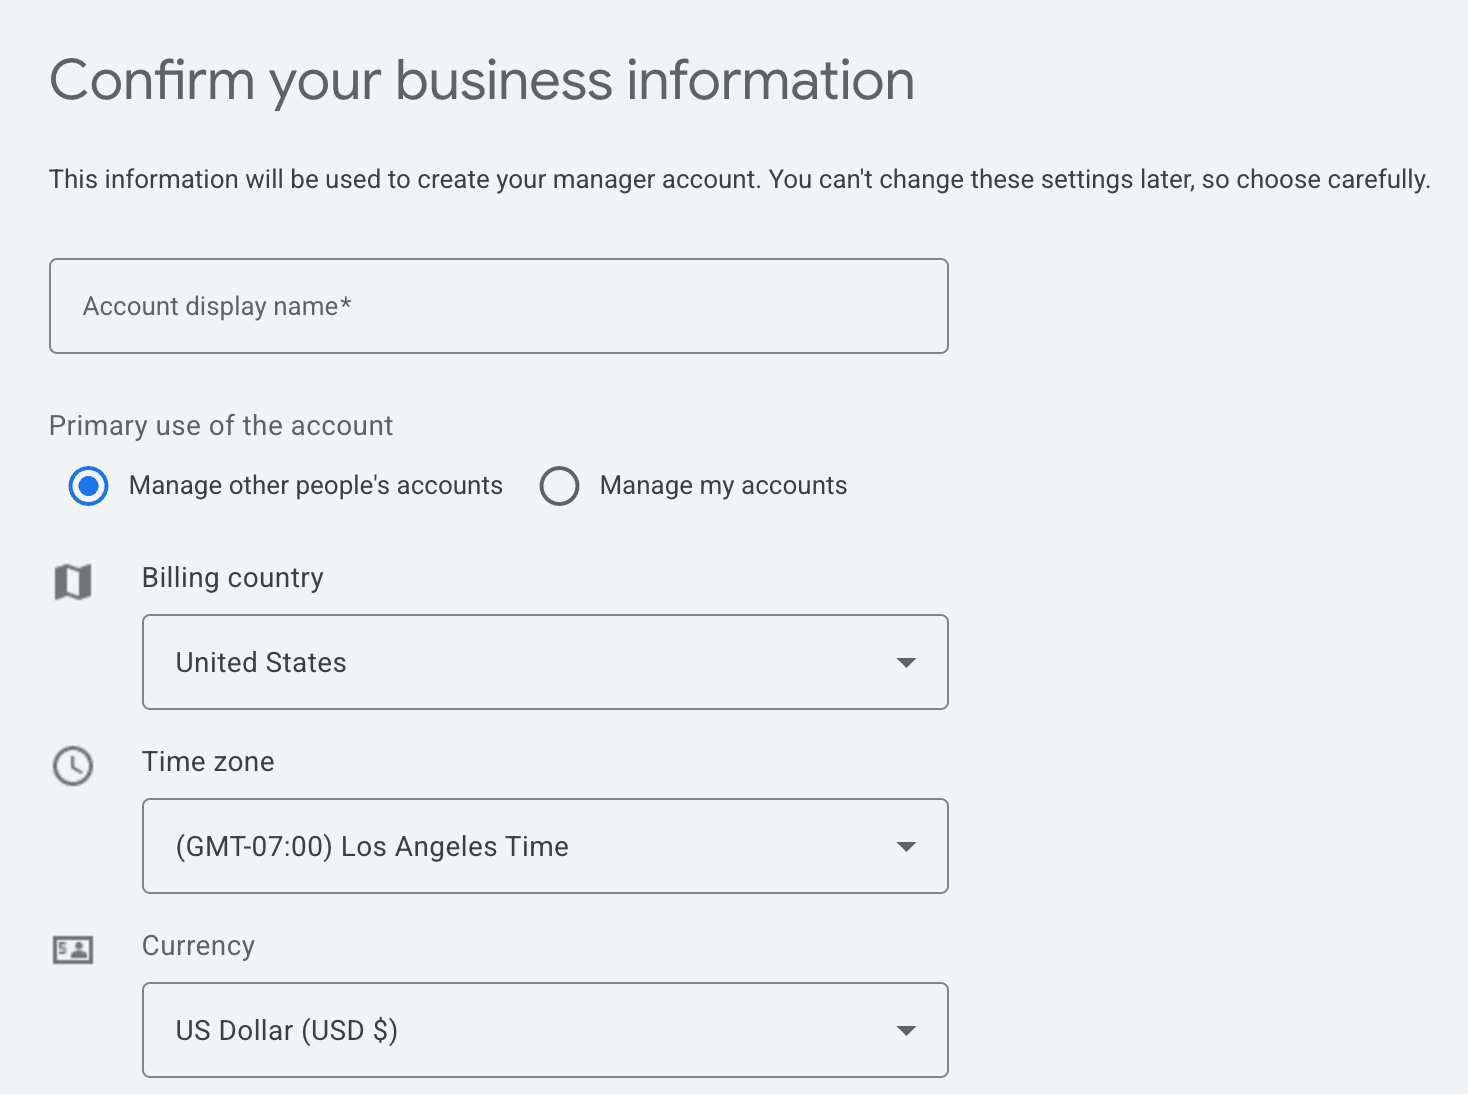
Enter:
- Account display name: Your company name
- Primary use: Select "Manage other people's accounts" or "Manage my accounts"
- Billing country: Where your business is based
- Time zone: Your local time zone
- Currency: Your preferred currency
⚠️ These settings CANNOT be changed later. Choose carefully.
-
Click Submit
Linking a client's ad account to your MCC:
- In your MCC → Settings → Sub-account settings
- Click Link existing account
- Enter the client's 10-digit Customer ID
- The client receives an email invitation → they must accept it
Step 3: Set Up Billing
Without billing, you cannot run ads.
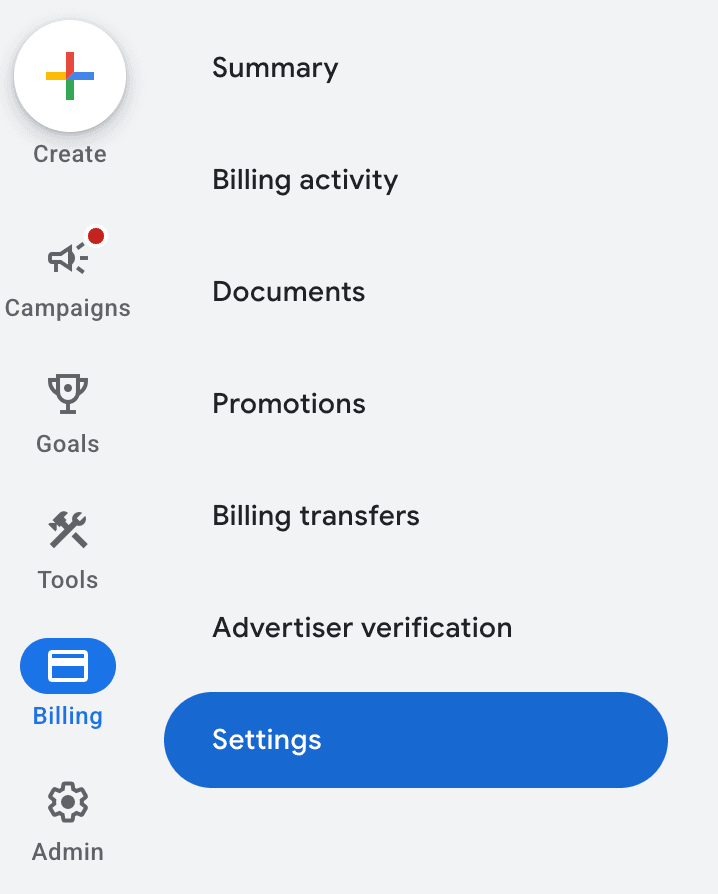
- In Google Ads, click Billing (left sidebar) → Settings
- Click Add Payment Method
- Choose:
- Credit card / Debit card
- Bank account (varies by country)
- Bank transfer / Invoice (for larger accounts, varies by country)
- Enter payment details → Confirm
- Choose payment setting:
- Automatic payments (recommended): Google charges you after your ads run, when you hit a billing threshold or at the end of the month
- Manual payments: You add funds upfront, ads stop when funds run out
Step 4: Set Up Conversion Tracking (Recommended)
What is this? Conversion tracking lets Google Ads know when someone takes a valuable action on your website (purchase, sign-up, etc.) after clicking your ad. Without it, you can't measure ad performance or optimize campaigns.
Choose Your Tracking Method
| Method | Best For |
|---|---|
| Google Tag Manager (GTM) | Most businesses — manage all tags from a UI, no code changes needed |
| Google Tag (gtag.js) | Simple sites — paste one code snippet directly on your pages |
Do NOT use both at the same time. Using GTM and gtag.js together will double-count your data.
Option A: Google Tag Manager (Recommended)
- Go to https://tagmanager.google.com
- Click Create Account
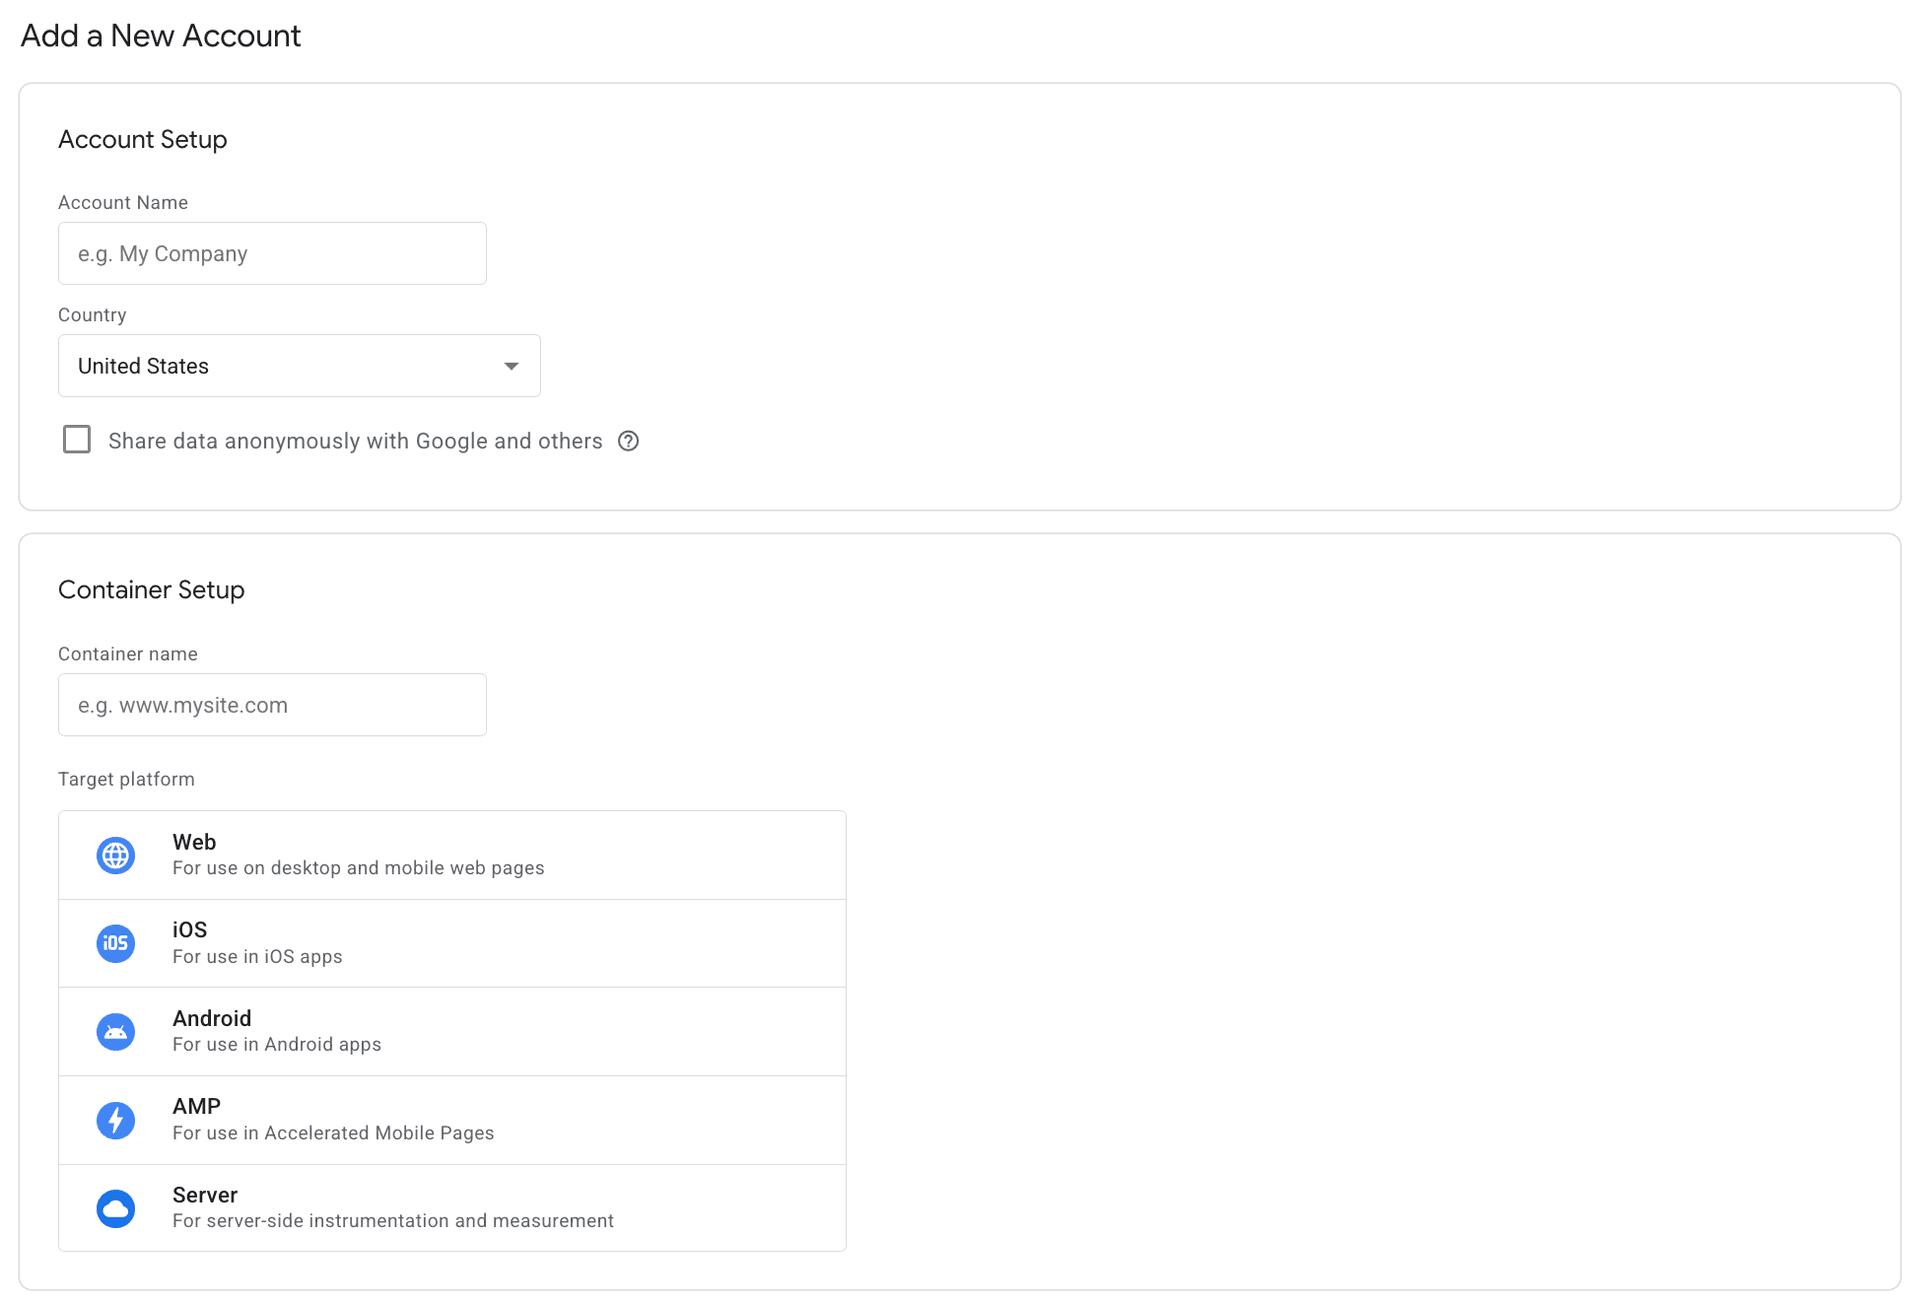
- Enter:
- Account Name: Your company name
- Country: Your country
- Container name: Your website URL (e.g., www.mysite.com)
- Target platform: Select Web
- Click Create → accept terms
- Copy the two code snippets GTM provides:
- Paste the first snippet in the
<head>of every page - Paste the second snippet after the opening
<body>tag
- Paste the first snippet in the
- In GTM, click New Tag → choose Google Ads Conversion Tracking
- Enter your Conversion ID and Conversion Label (from Google Ads → Goals → Conversions)
- Set up a trigger (e.g., "Page URL contains /thank-you")
- Click Submit to publish
Option B: Google Tag (gtag.js)
- In Google Ads → Goals (left sidebar) → Conversions → Summary
- Click + Create button → select Website
- Enter your website URL
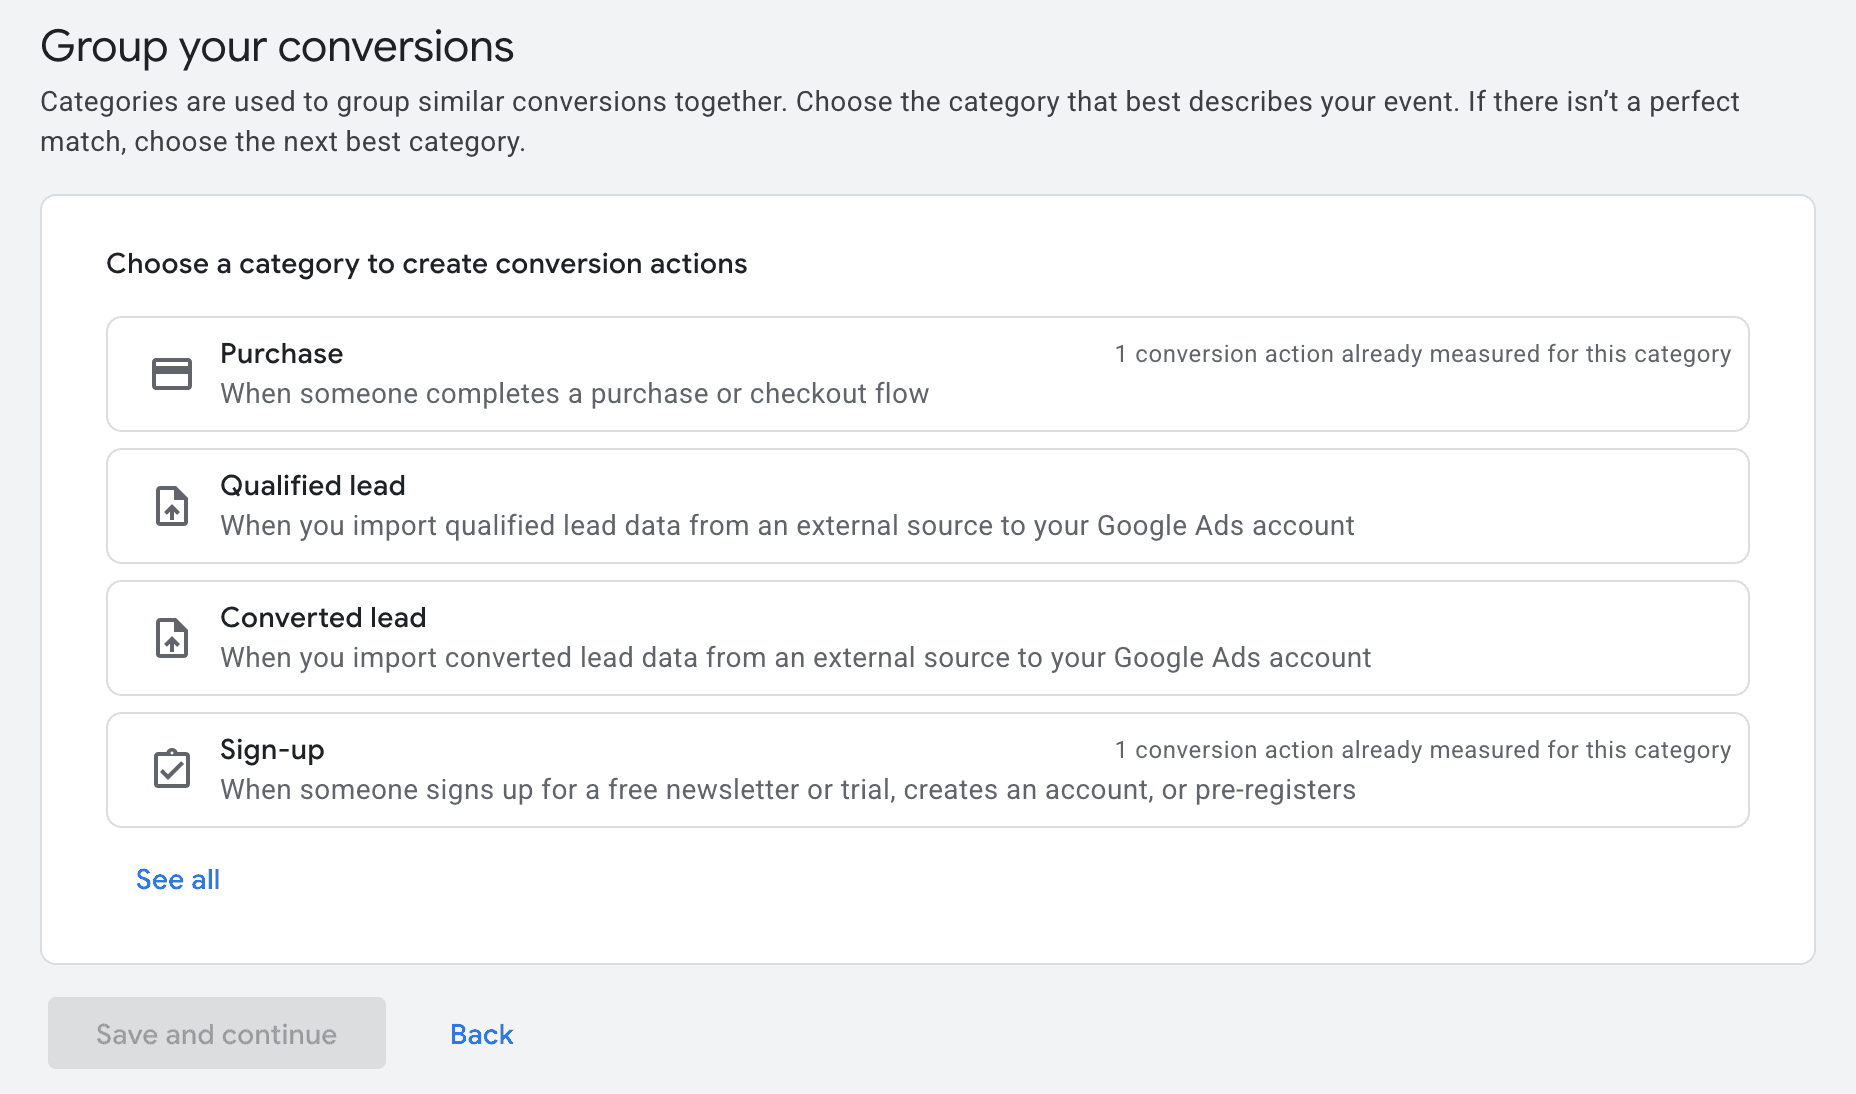
- Choose a conversion category (Purchase, Qualified lead, Sign-up, etc.)
- Google provides a Google Tag code snippet — paste it in your website's
<head>tag - Add the event snippet on specific pages (e.g., thank-you page)
Note: If the conversion options don't appear, you may need to create at least one campaign first. You can create a paused campaign and set it up later.
Verify Your Setup
- In Google Ads → Goals → Conversions
- Check that your conversion actions show Active status
- Use Google Tag Assistant (Chrome extension) to debug on your site
Summary
Must-Have (Required to Run Ads)
- Google account (Gmail or Workspace)
- Google Ads account created (skipping campaign creation)
- Billing country, time zone, currency set (cannot change later!)
- Payment method added
- Customer ID noted (10-digit number, top right of Google Ads)
Recommended for Ad Performance
- Google Tag or GTM installed on website
- At least 1 conversion action created
- Google Analytics 4 linked to Google Ads
Key URLs
| What | URL |
|---|---|
| Google Ads | https://ads.google.com |
| MCC Creation | https://ads.google.com/home/tools/manager-accounts/ |
| Google Tag Manager | https://tagmanager.google.com |
| Google Analytics 4 | https://analytics.google.com |
| Google Ads Help | https://support.google.com/google-ads |